Desktop Client
This guide covers the fundamental steps to install and configure the GARRbox desktop clients on Windows and MacOS. For a detailed discussion of the features see the official Nextcloud client guide.
Users migrating from OwnCloud
If you are upgrading from a previous OwnCloud-based version of GARRbox, the guided installation procedure described below is valid for you too. Consult the Advanced migration section for details specific to the transition from the legacy client.
Video guide
Guided installation
The following procedure guides the user step by step through the installation and initial configuration of the synchronisation client. Screenshots were taken on Windows; the flow is analogous on MacOS.
-
Download the client package
Download the package from the GARRbox Client section on the service Homepage and start the installation with a double click.
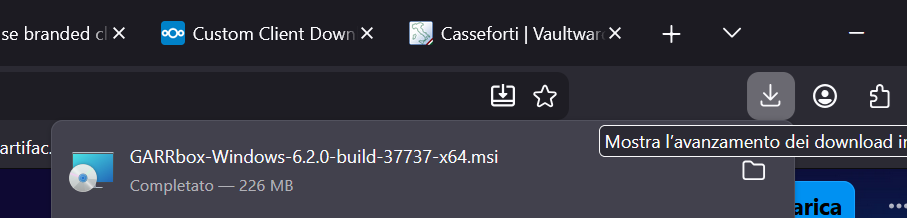
Client package download page -
Start the installation
The guided installation procedure offers more experienced users options to customise the installation of the executables.
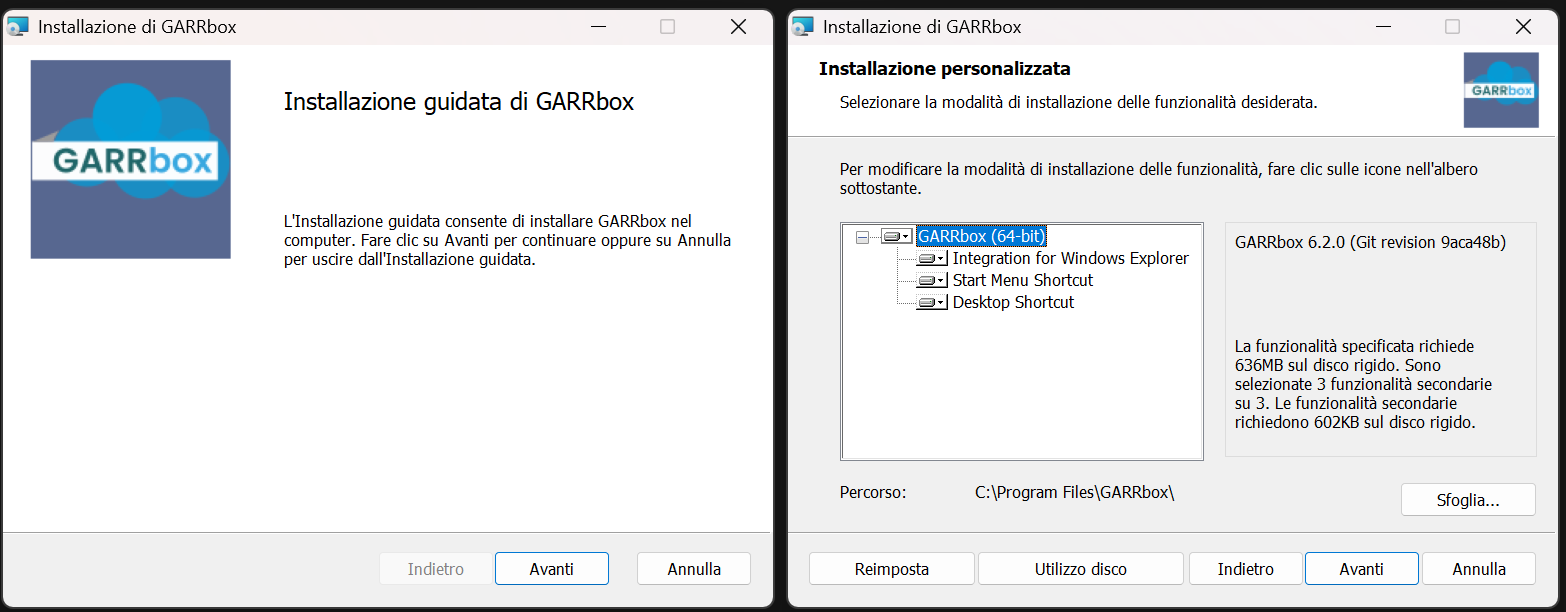
Guided installation procedure -
Adding the user
Once the installation is complete, starting the client asks for confirmation of the server address. For GARRbox clients it is sufficient to confirm the default by clicking Next.
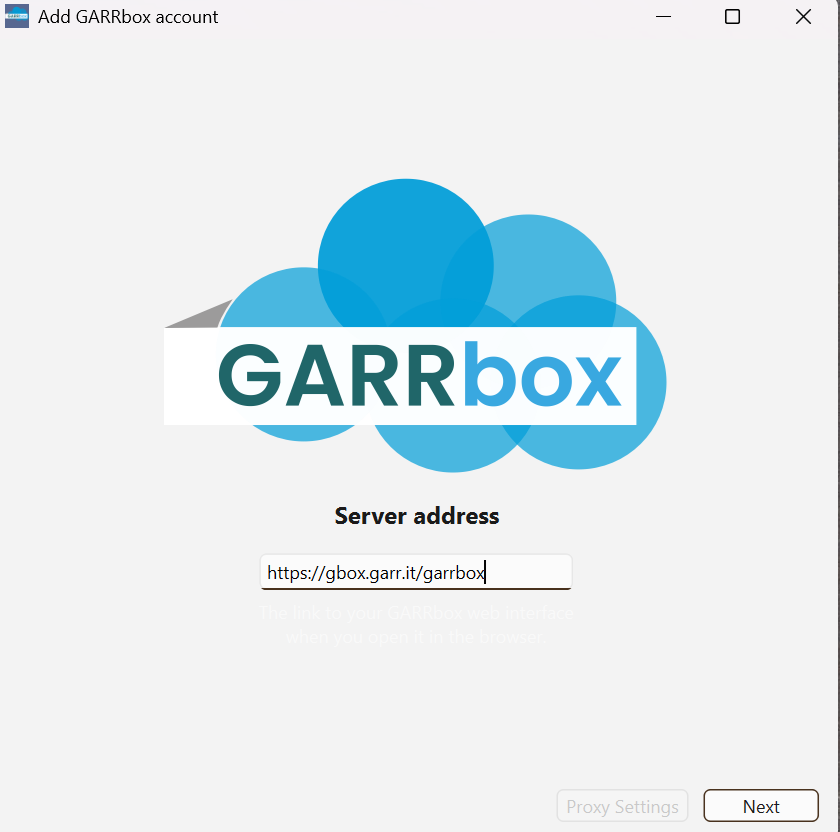
Server address confirmation -
Clients configure themselves in a simplified manner by retrieving information from the service. To allow this, the client must be connected to the server.
Account connection to the server -
Web login
The client asks the user to verify their identity by logging into GARRbox via web browser.
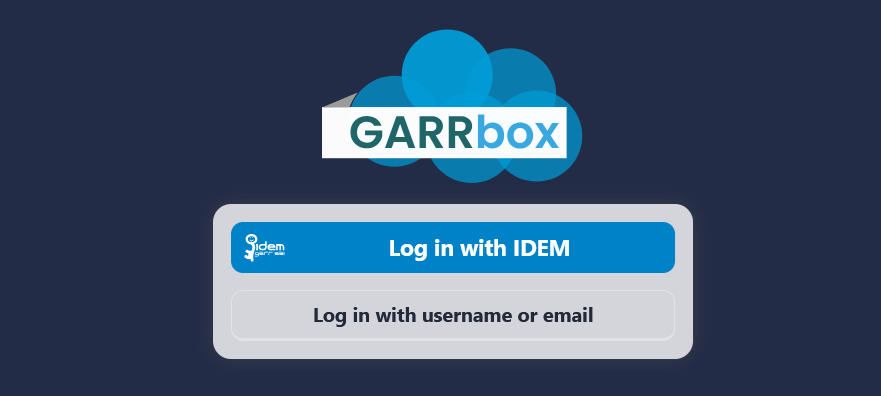
Login to GARRbox via web browser -
IDEM authentication
Select the IDEM identity provider of your organisation.
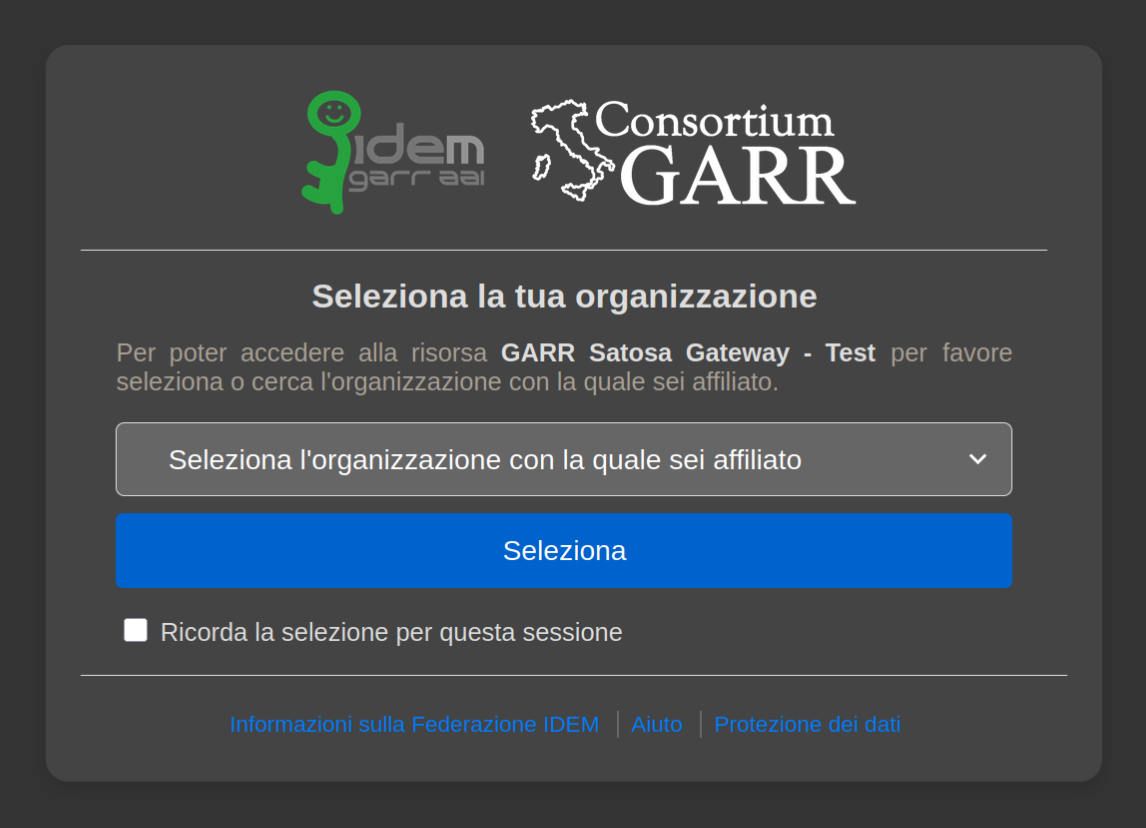
IDEM identity provider selection Log in with your institutional credentials.
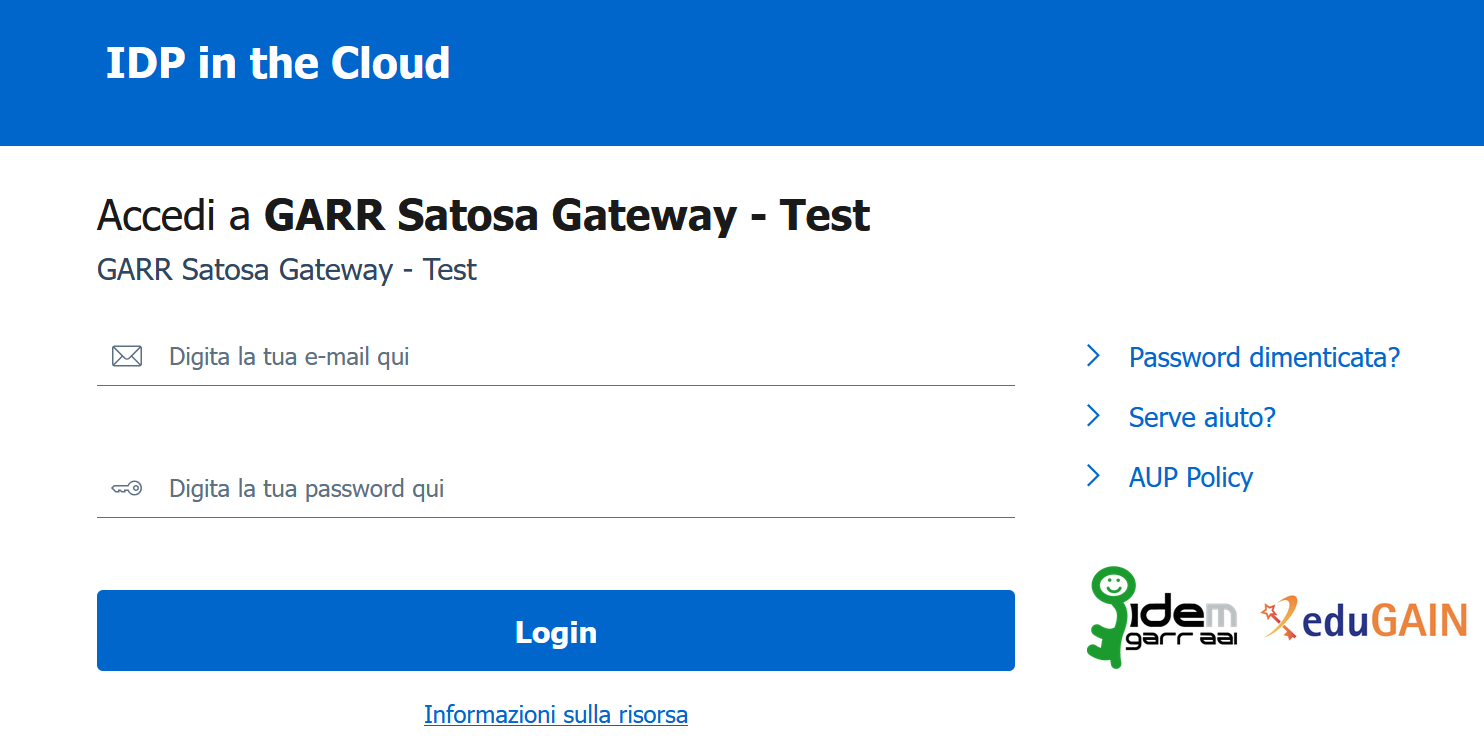
Login with institutional credentials -
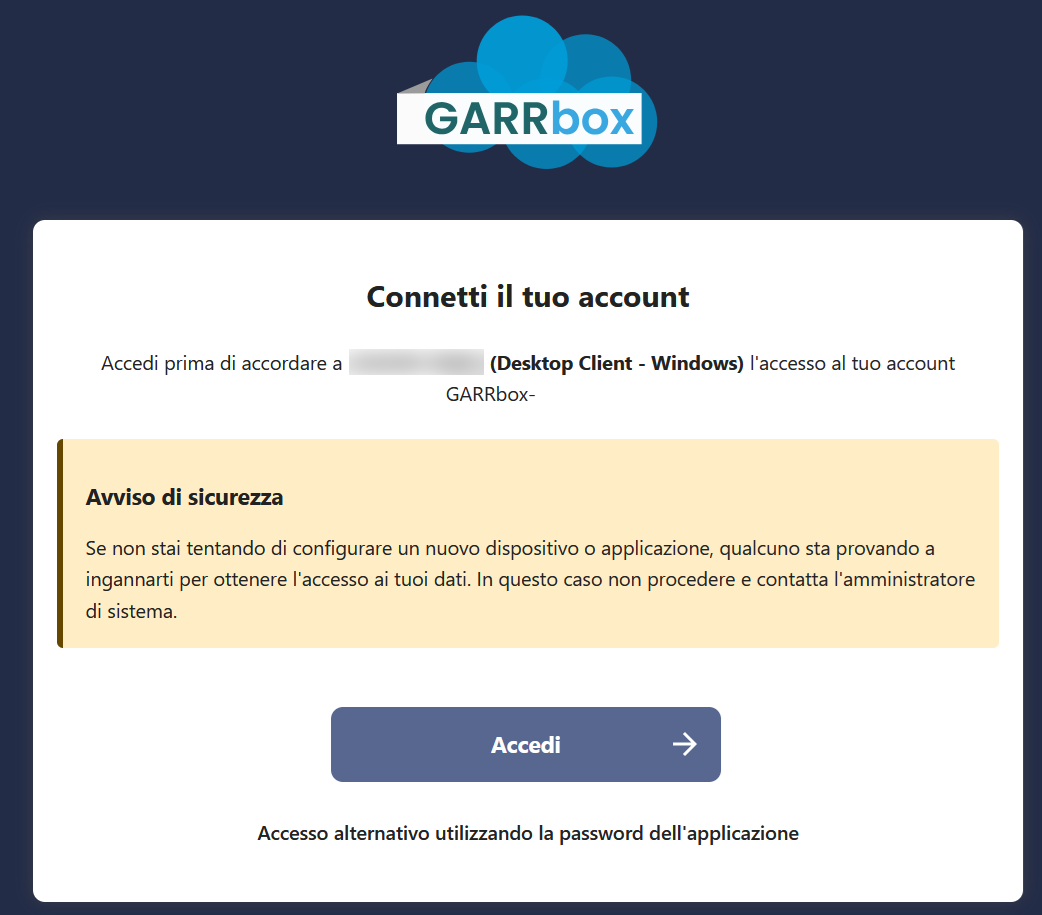
Client authorisation
Once authentication has been completed successfully, the service will ask for confirmation to proceed with authorisation of the new client.
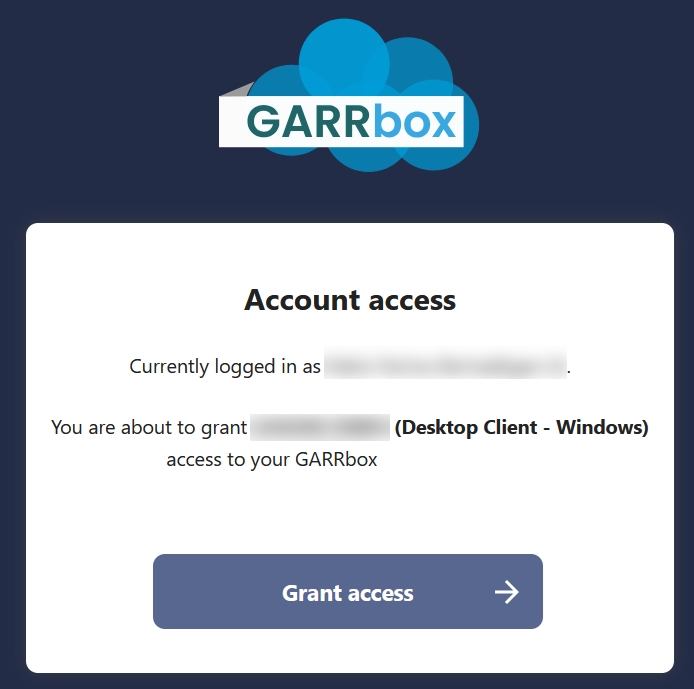
New client authorisation request -
Connection established
When you confirm the granting of access the client is authorised. From here we will choose the strategy to apply for synchronising our data between devices.
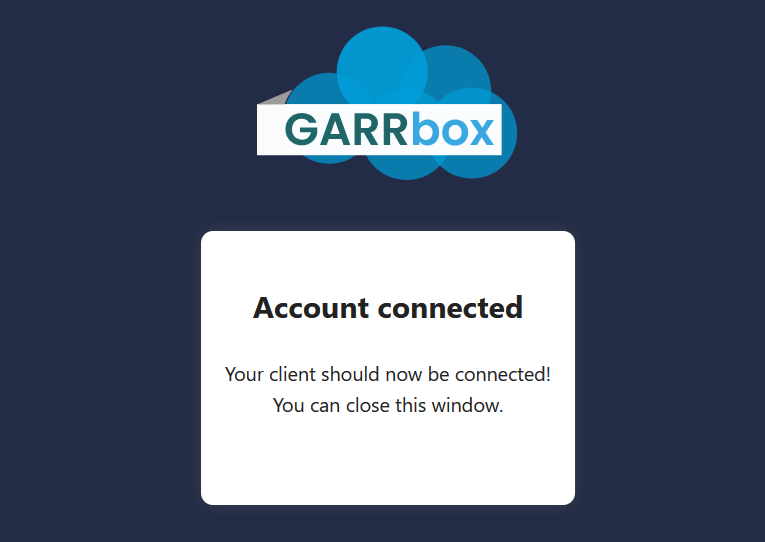
Connection established successfully If for any reason the procedure should stop with an error, you can restart the client configuration process by repeating the procedure from Step 4.
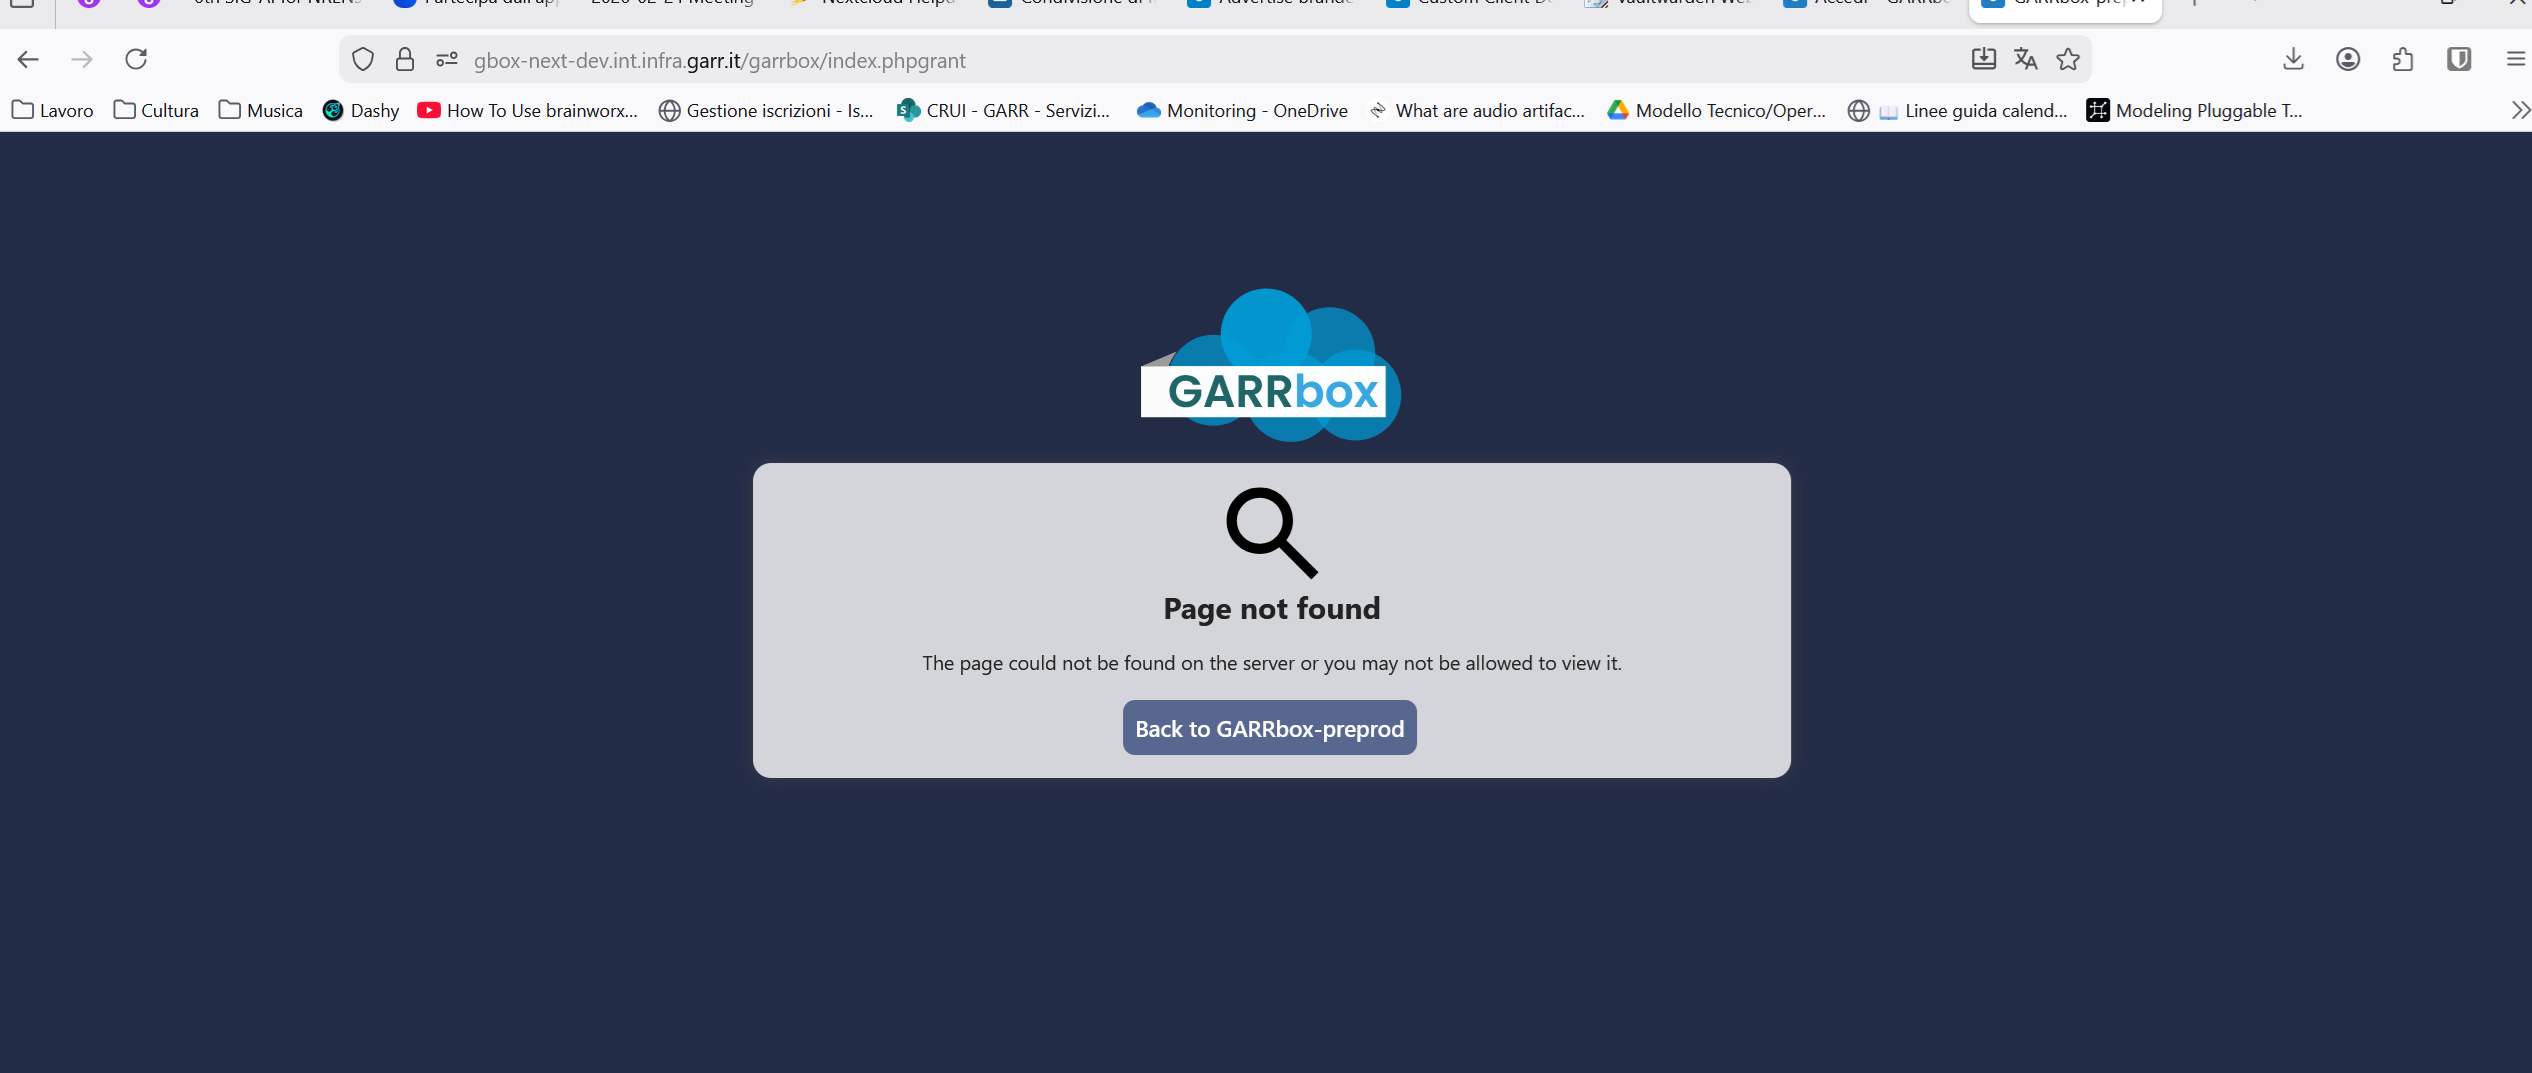
Error message during configuration -
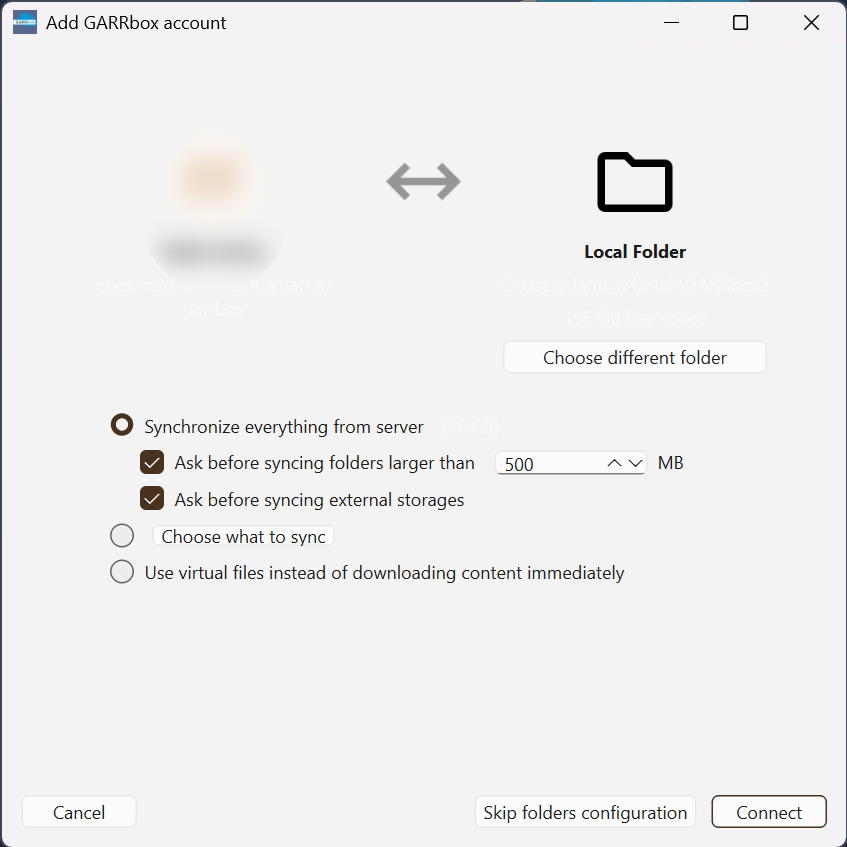
Choosing the synchronisation strategy
When installing a client on a new device the configuration procedure offers three options:
- Synchronise locally everything available on the server, configuring a notification before proceeding with the local copy of large data.
- Select specifically what to synchronise (see the next Step)
- Activate the virtual file system function (available for Windows and MacOS). Save locally only data actually read and modified.
Warning
Virtual Filesystem optimises space consumption, but in the event of a synchronisation interruption remote data may not be accessible. We recommend careful evaluation between data protection needs and local disk space savings before activating this option.
Synchronisation strategy selection In the case of installation on a device that already had a version of GARRbox installed, it is sufficient to select the "garrbox" folder previously used to continue synchronising the data.
Tip
To keep existing data synchronised, select the "Keep local data" option.
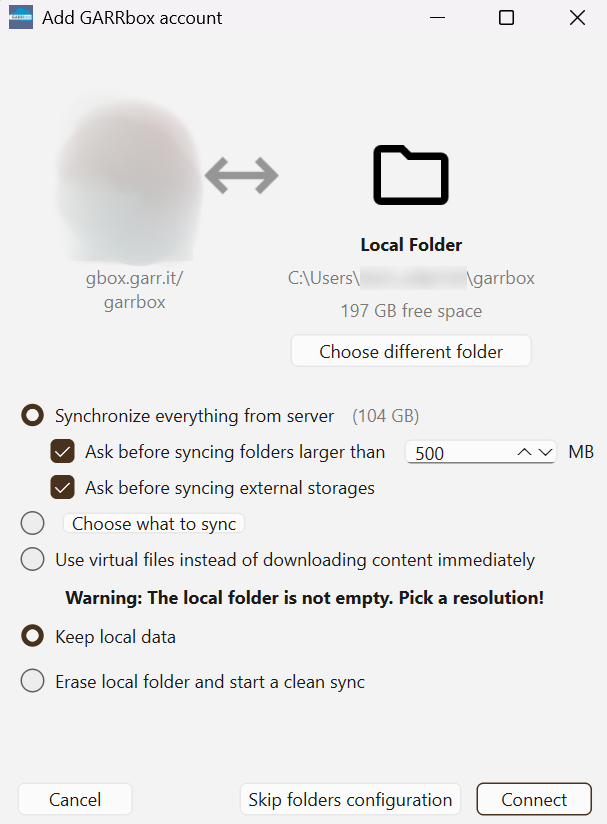
Adding account on device with existing installation In this case too, the previously described options on the different local data update policies are available.
-
(optional) Specific selection of data to synchronise
If you chose to specify exactly which contents to select, the list of individual folders will be made available as shown in the following figure.
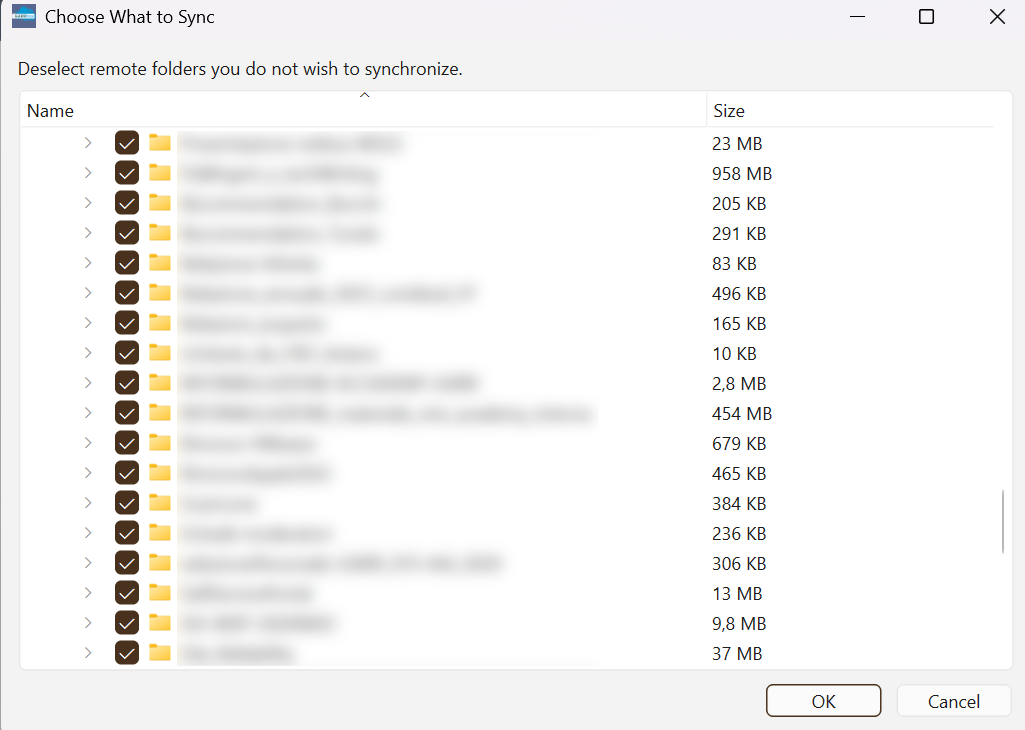
Specific selection of folders to synchronise
First steps using the Desktop client
Once the configuration process is complete the client will automatically resume synchronising data between devices.
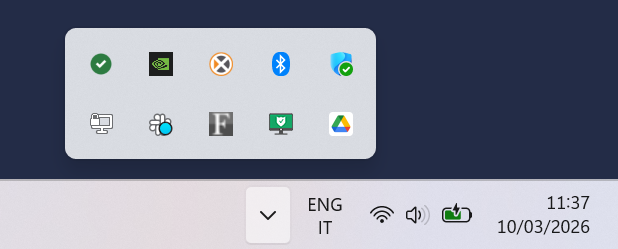
The client appears as an icon in the system menu.
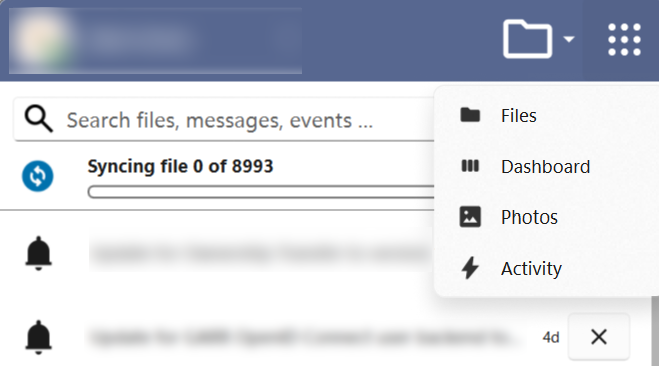
Expanding the menu panel, synchronisation activity will be reported as a list of ongoing and completed transfers. Notifications of activity on shared data will also appear in the list.

Clicking on the sharing areas icon we can see the details of our personal space and the shared work spaces of our organisation.

The icon on the side allows quick access to the Apps available on the server.
Clicking on your username it is possible to access information about your user profile and the client logout/login commands.
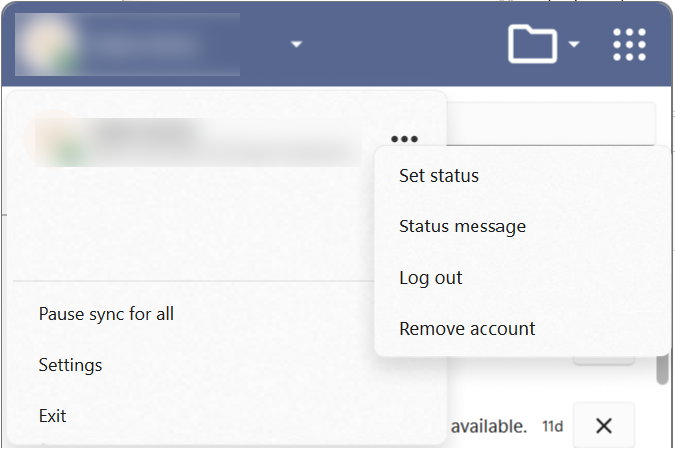
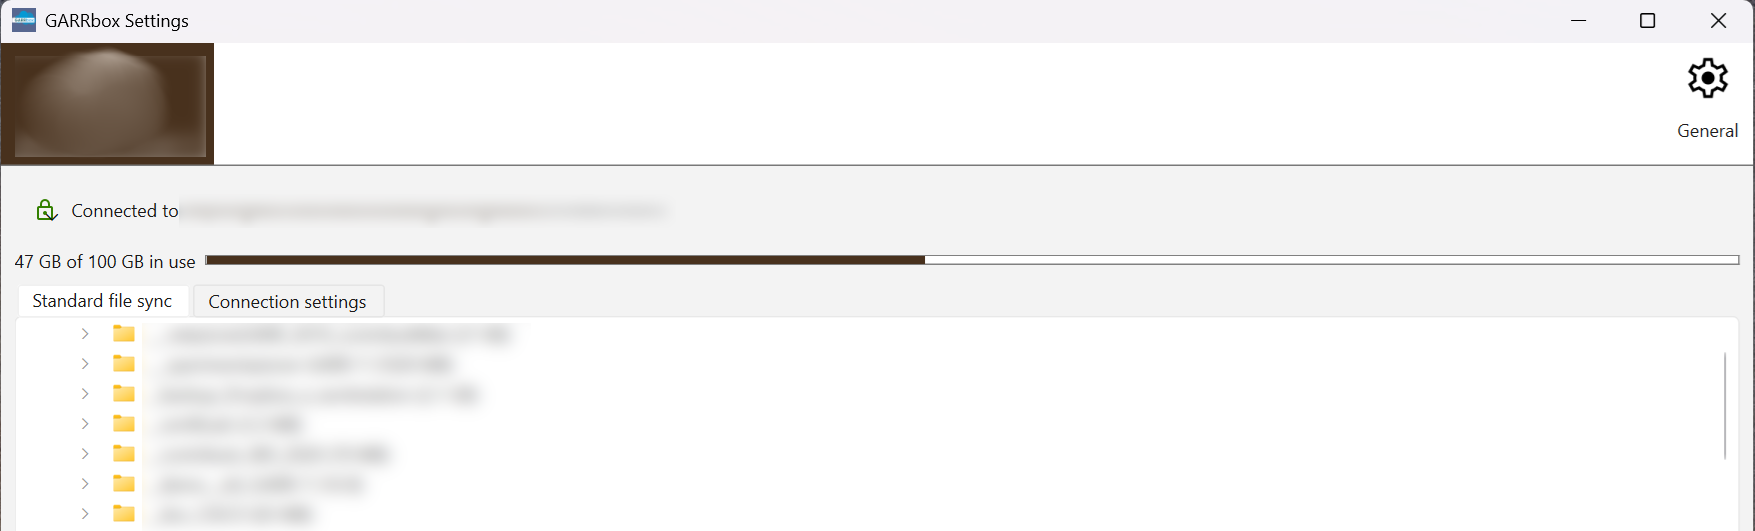
Selecting the Settings option you can access a view that resembles the appearance of legacy GARRbox clients.
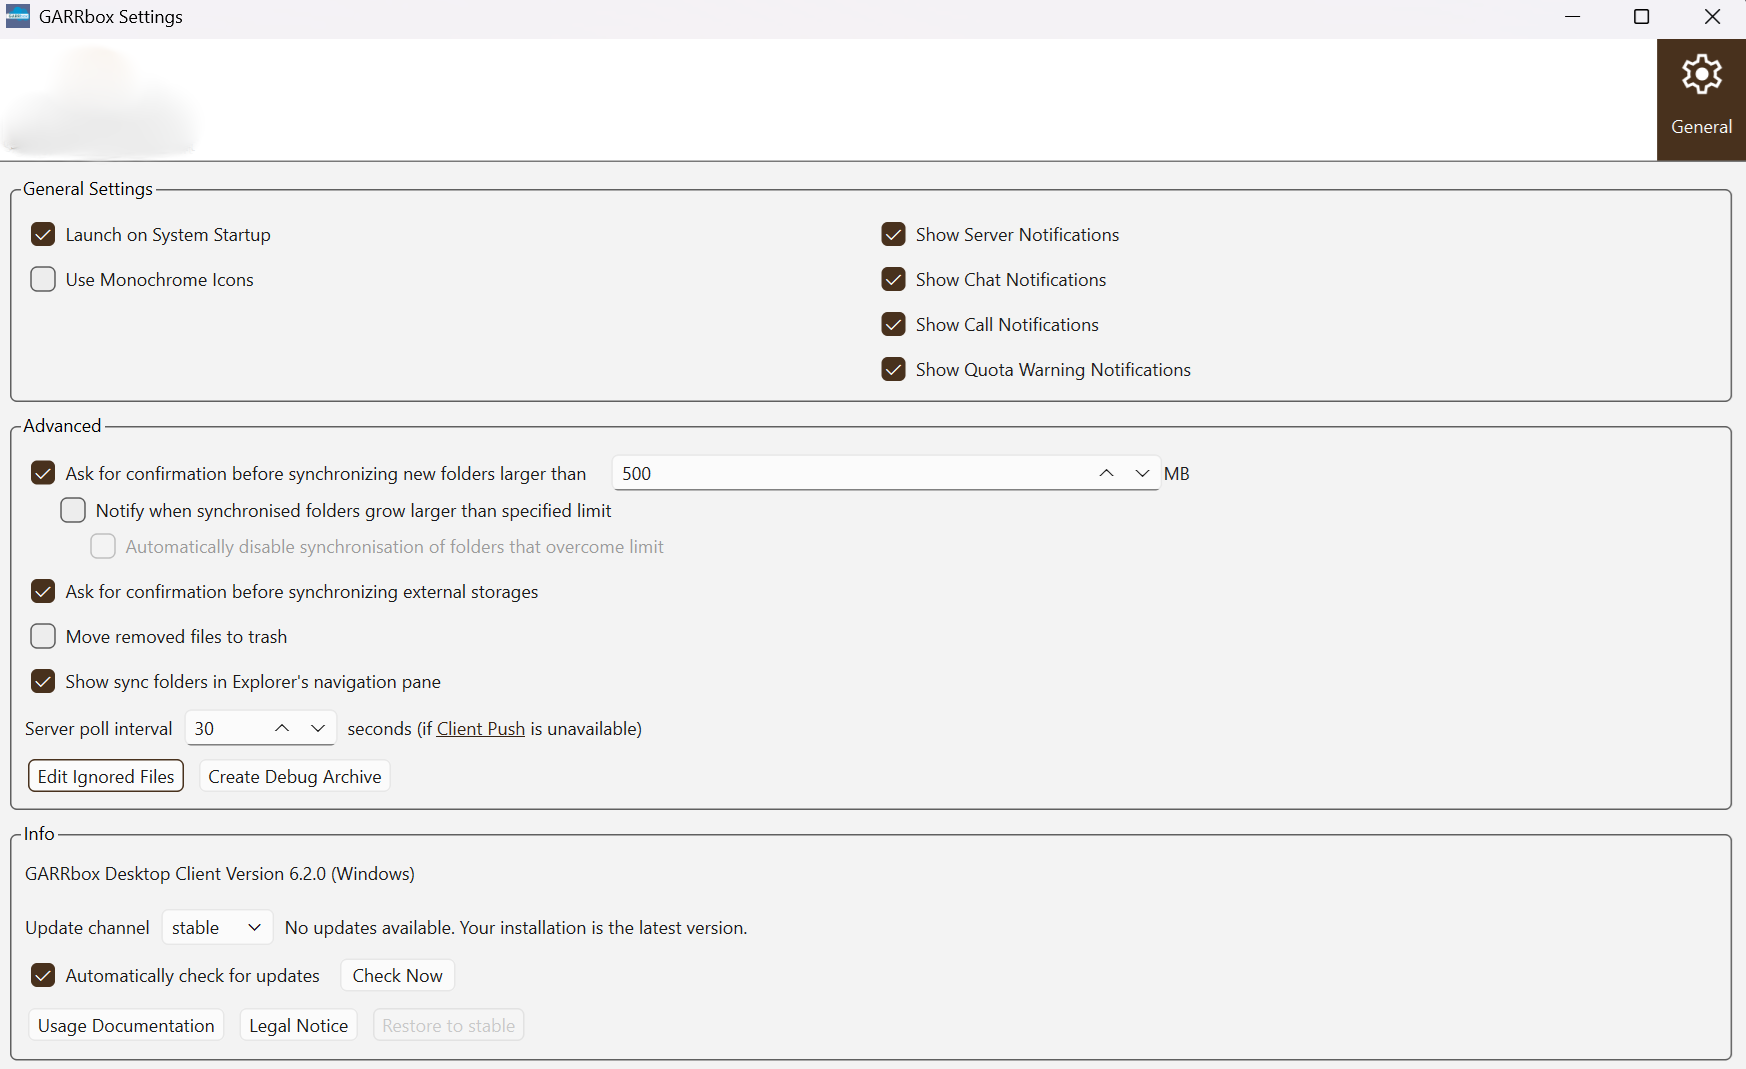
Clicking the General button you can adjust the notification and synchronisation options of the client. From this panel it is also possible to control the automatic update of client versions.
Revoking and disconnecting a client
In the event of loss or theft of a device it is essential to be able to block the access permissions granted to the installed client.
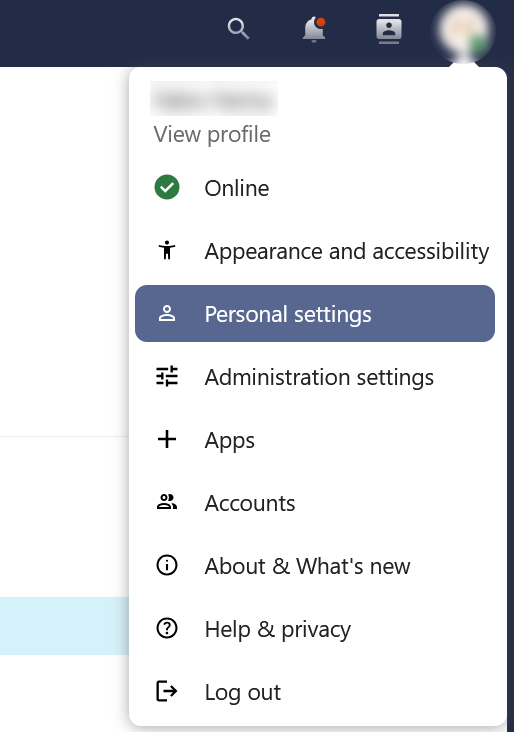
To proceed with revocation, log in from the web browser and access your personal profile from the drop-down menu at the top right.
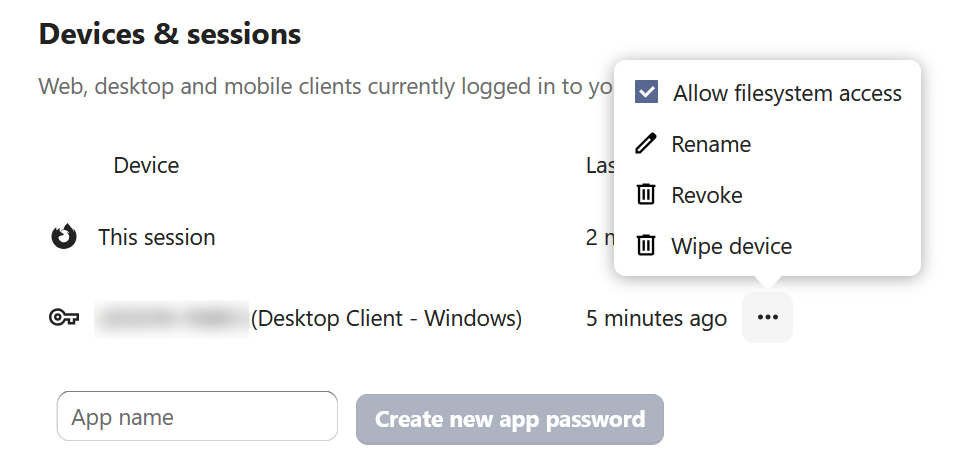
In the side menu select the "Security" panel. At the bottom of the page is the list of browser sessions and clients authorised to access your data.
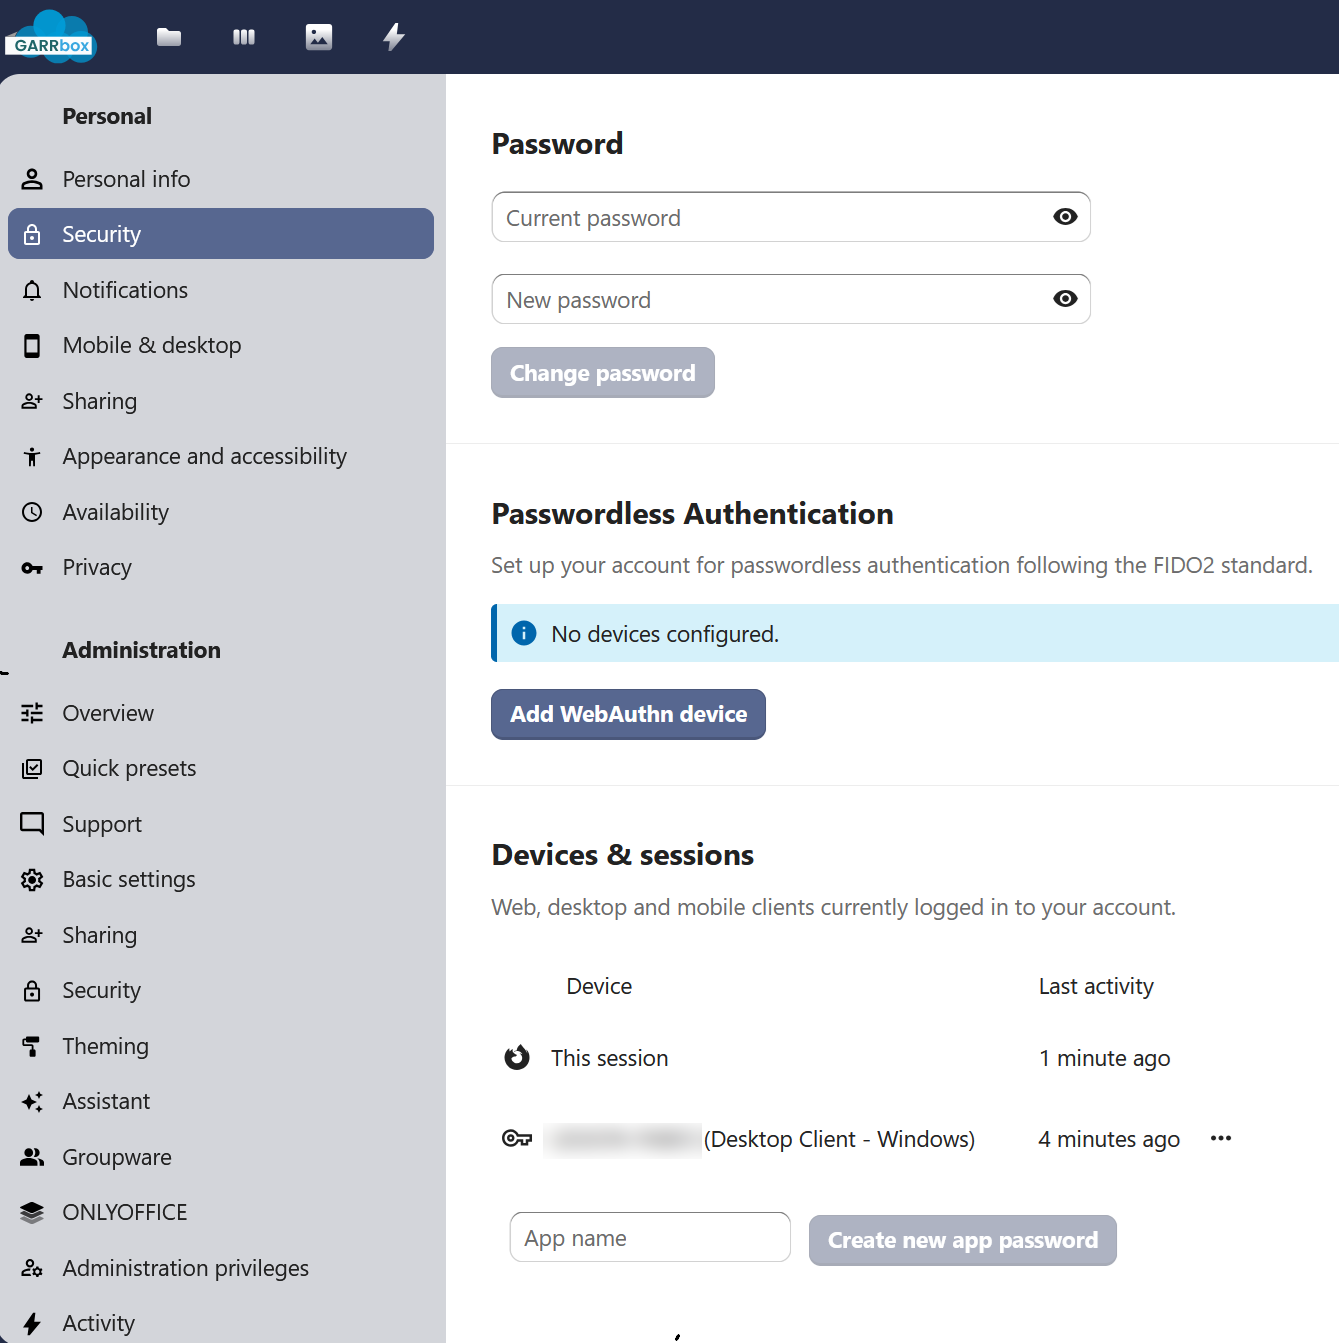
Clicking on the three dots next to an authorisation it is possible to revoke the access token, also deleting the data on the remote device.
Danger
Revocation and device cleanup actions are not reversible and cannot be undone.
Clients for Android and iOS mobile devices
The change of clients for mobile devices is mediated by the official app stores of Google and Apple.
It is sufficient to update the GARRbox clients via the stores and log in again to access your data.
If you use legacy native OwnCloud clients, you will need to download the Nextcloud clients and follow the steps of the official guides. As always, to ensure the best support we recommend using the official GARR client versions.
Advanced client migration
The use of official clients with branding and pre-configuration distributed by GARR is recommended.
Caution
The actions described in this section are intended for experienced users.
There are however specific cases where experienced users choose to adopt generic clients.
For these situations these are the supported migration steps:
- From an existing ownCloud client to Nextcloud
- From the standard Nextcloud client to a branded version
During the first launch of the Nextcloud client, an existing configuration will be recognised. The user will see a migration popup to confirm the transition.
The following parts will be detected:
- Existing client configuration from the .cfg file
- Reuse of the existing synchronisation folder
- Currently active access (app password)
The following parts will not be detected:
- Existing global synchronisation exclusion files: the migration will give preference to a new synchronisation exclusion file since branding offers the option of imposing a custom one on all users of an organisation.
The following activities also remain unmanaged by automatic migration:
- Renaming the existing synchronisation folder to "Nextcloud" or the new branded name
- Termination of the existing client (must be performed by the user or administrator)
- Uninstallation of the existing client (must be performed by the user or administrator)
There are some constraints that must be met for the migration process to succeed:
- Mandatory: close the standard Nextcloud synchronisation client with the "Quit" option in the right-click menu of the system tray icon. It is not possible to have more than one client in the same synchronisation area, otherwise the migration will fail.
- Mandatory: do not attempt to rename the synchronisation folder.
- Mandatory: do not attempt to rename the configuration folder.
- Optional: remove the standard Nextcloud synchronisation client.
- Windows: the installer for the standard client and the branded version is in MSI format (Microsoft Software Installer). The MSI installer provides various features that can be installed or removed individually, also controllable via command line. Following Microsoft standards, you can consult the official documentation for command line options. It is also possible to use the Windows "Add or Remove Programs" tool.
If you prefer to keep the standard Nextcloud client, it is strongly recommended to:
- Close the standard client before attempting migration.
- Proceed with the migration and then remove the standard client configuration folder before restarting it.
On Windows you will find the configuration folder in %APPDATA%Nextcloudnextcloud.cfg, on Mac OS in $HOME/Library/Preferences/Nextcloud/nextcloud.cfg and on Linux in $HOME/.config/Nextcloud/nextcloud.cfg. The user will then only need to add their account and a new synchronisation folder again.
Running more than one synchronisation client at the same time is possible: the standard client and a branded version can run in parallel if they do not use the same synchronisation folder. Multiple clients attempting to synchronise data in the same folder could cause data loss and numerous other problems.
The steps to complete the migration are:
- Install the branded synchronisation client or launch the AppImage.
- On first launch, the account and synchronisation folder should be migrated.